Strapi Cloud
This is a step-by-step guide for deploying your Strapi application on Strapi Cloud.
Prerequisites
Before you can deploy your Strapi application on Strapi Cloud, you need to have the following prerequisites:
- Strapi version
4.8.1or higher - Database: Project must be compatible with PostgreSQL. Use of any external database is not supported.
- Project(s) source code hosted on GitHub
- The connected repository can contain multiple Strapi applications. Each Strapi app must be in a separate directory.
Getting started
Navigate to the Strapi Cloud login page.
You are prompted to Log In with GitHub. Your Strapi Cloud account is created during this initial login.
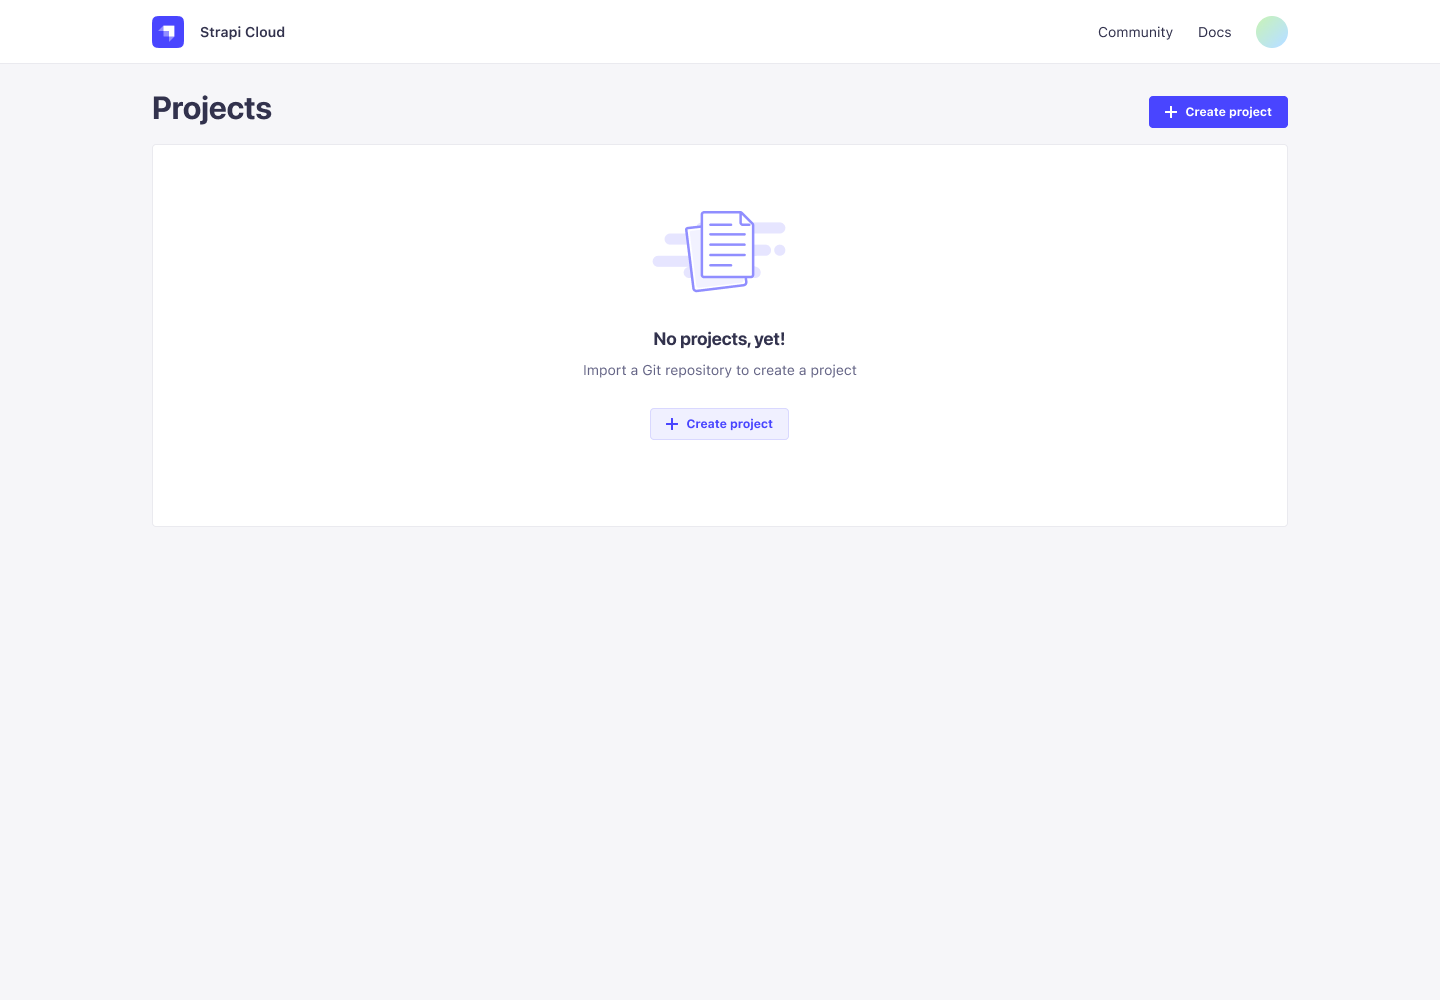
Once logged in, you will be redirected to the Strapi Cloud Projects page. From here you can create your first Strapi Cloud project.
Creating a project
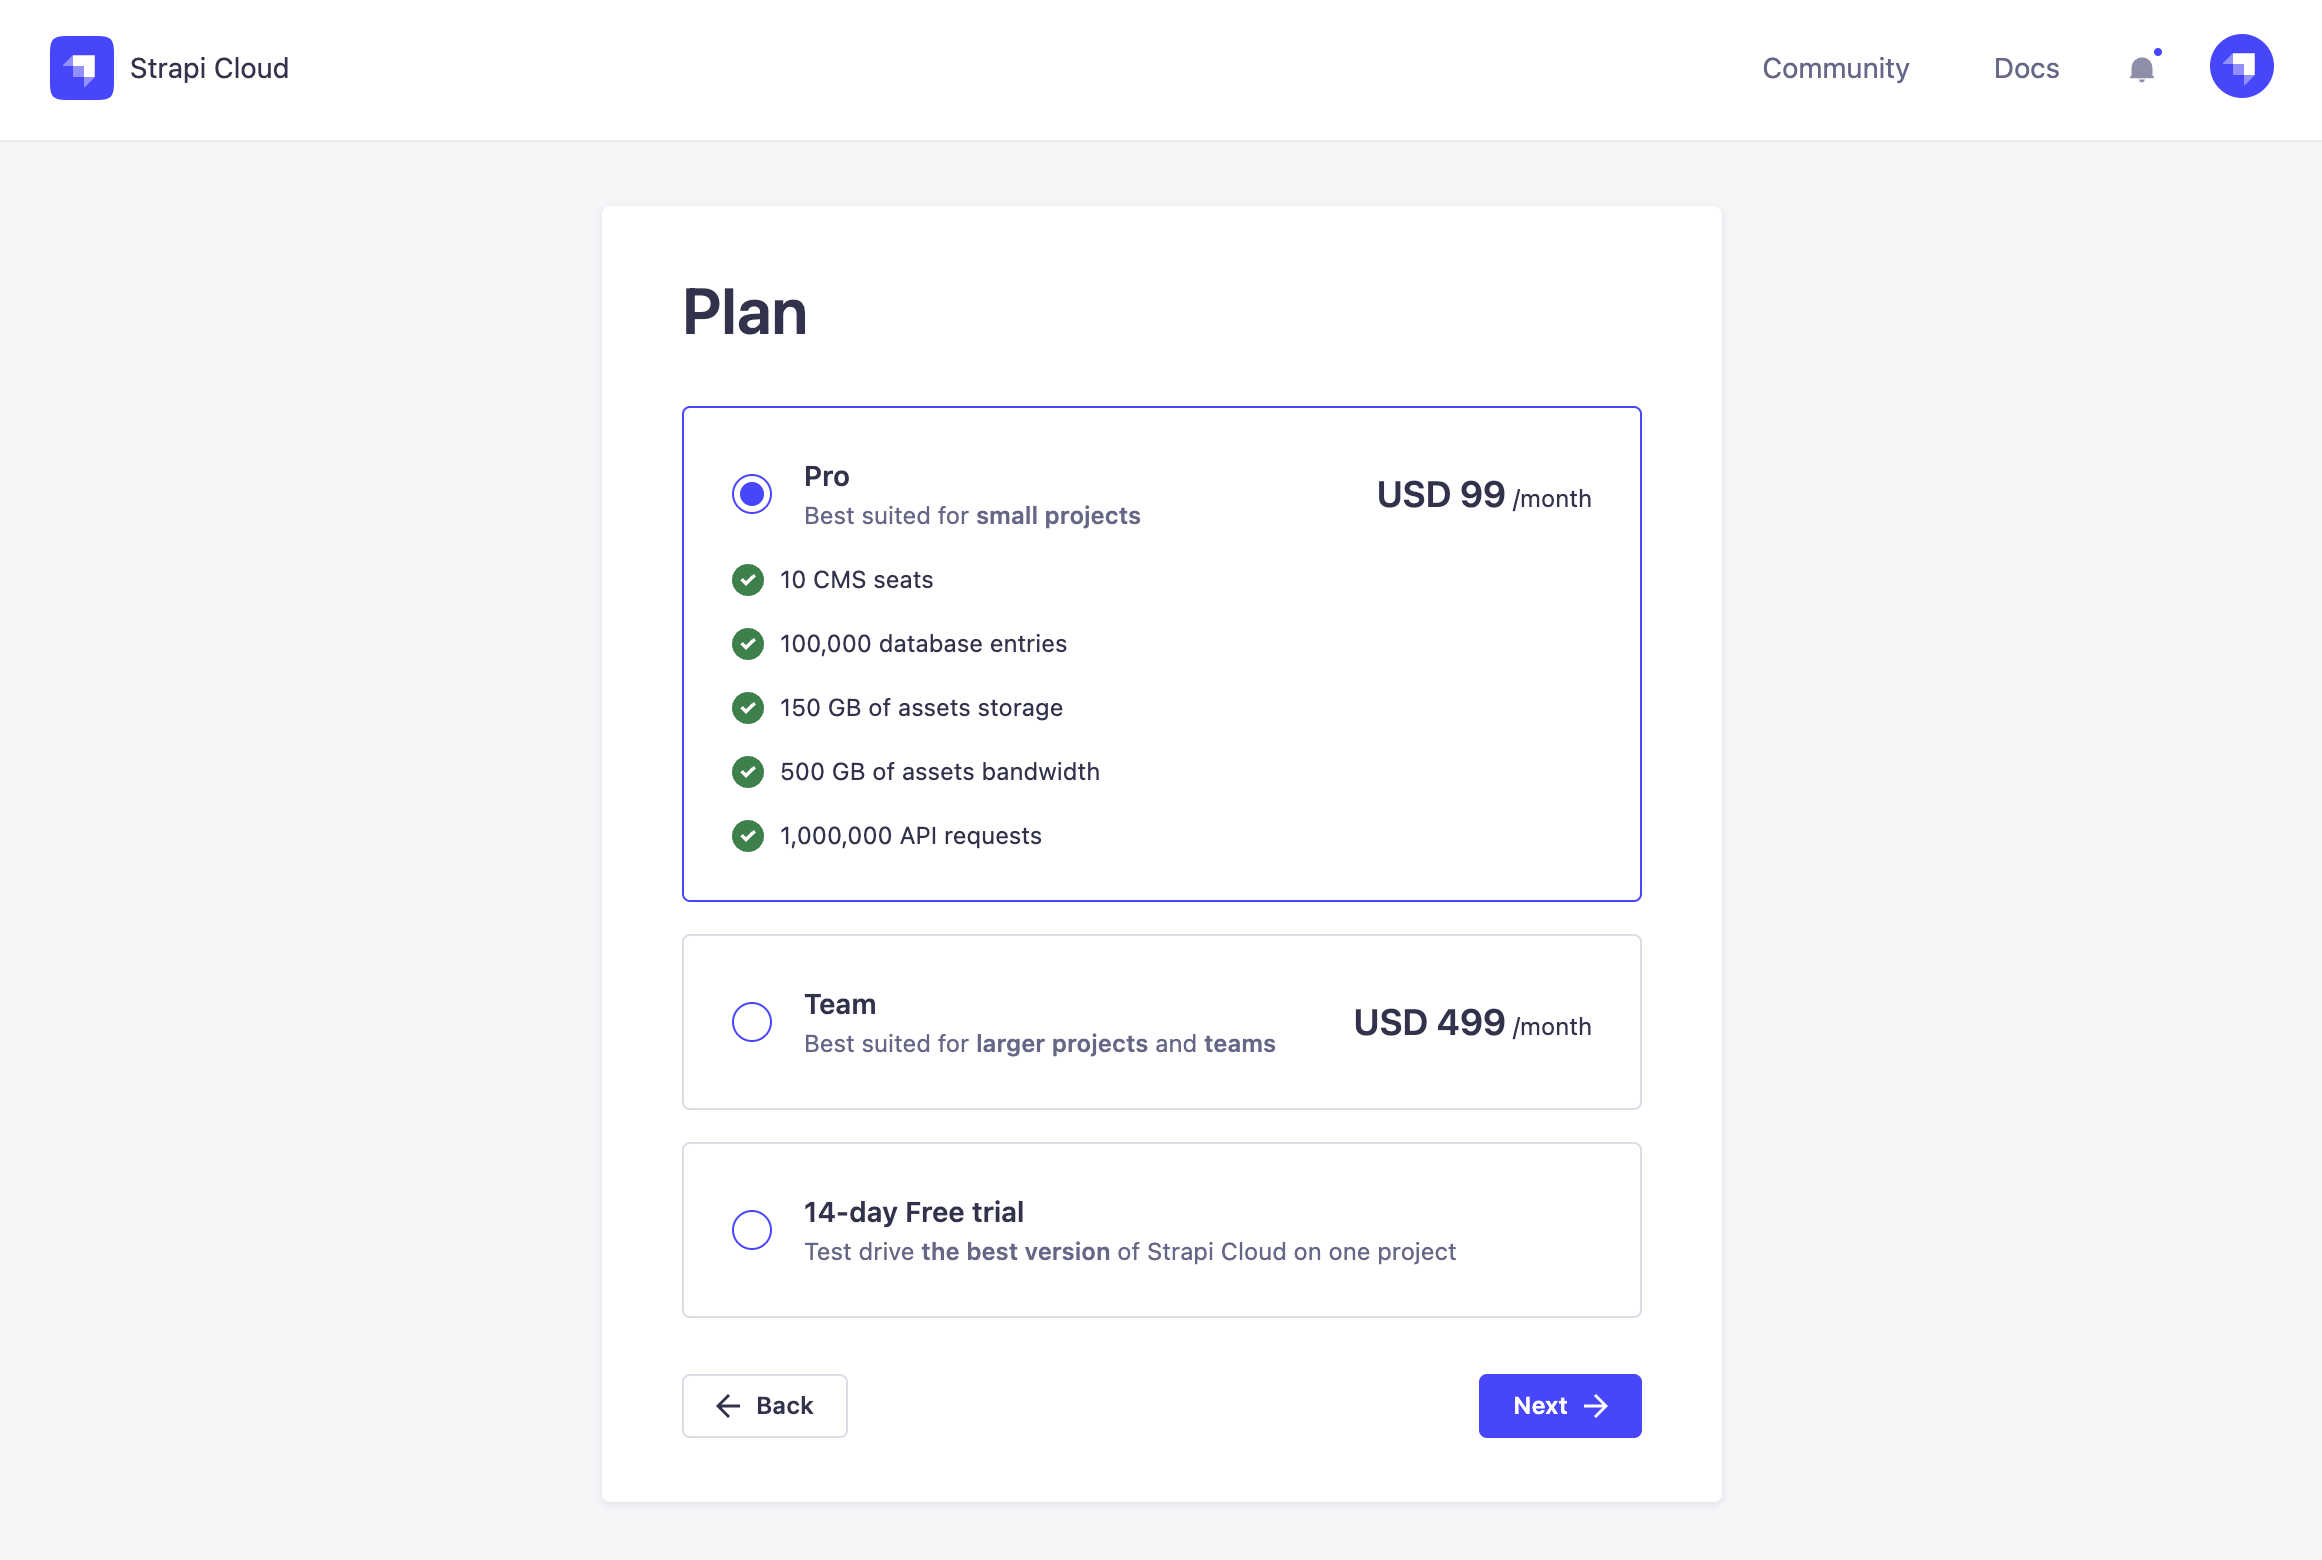
From the Projects page, click the Create Project button. You will be shown a plan selection dialog. This will allow you to select the most relevant plan for your project. Refer to Pricing for more information.
 ✏️ Note
Strapi Cloud offers a free trial for only one project.
If you have already used a free trial for a previous project, the option will no longer appear in the plan selection.
If you selected the free trial option, you are presented with additional information about the trial.
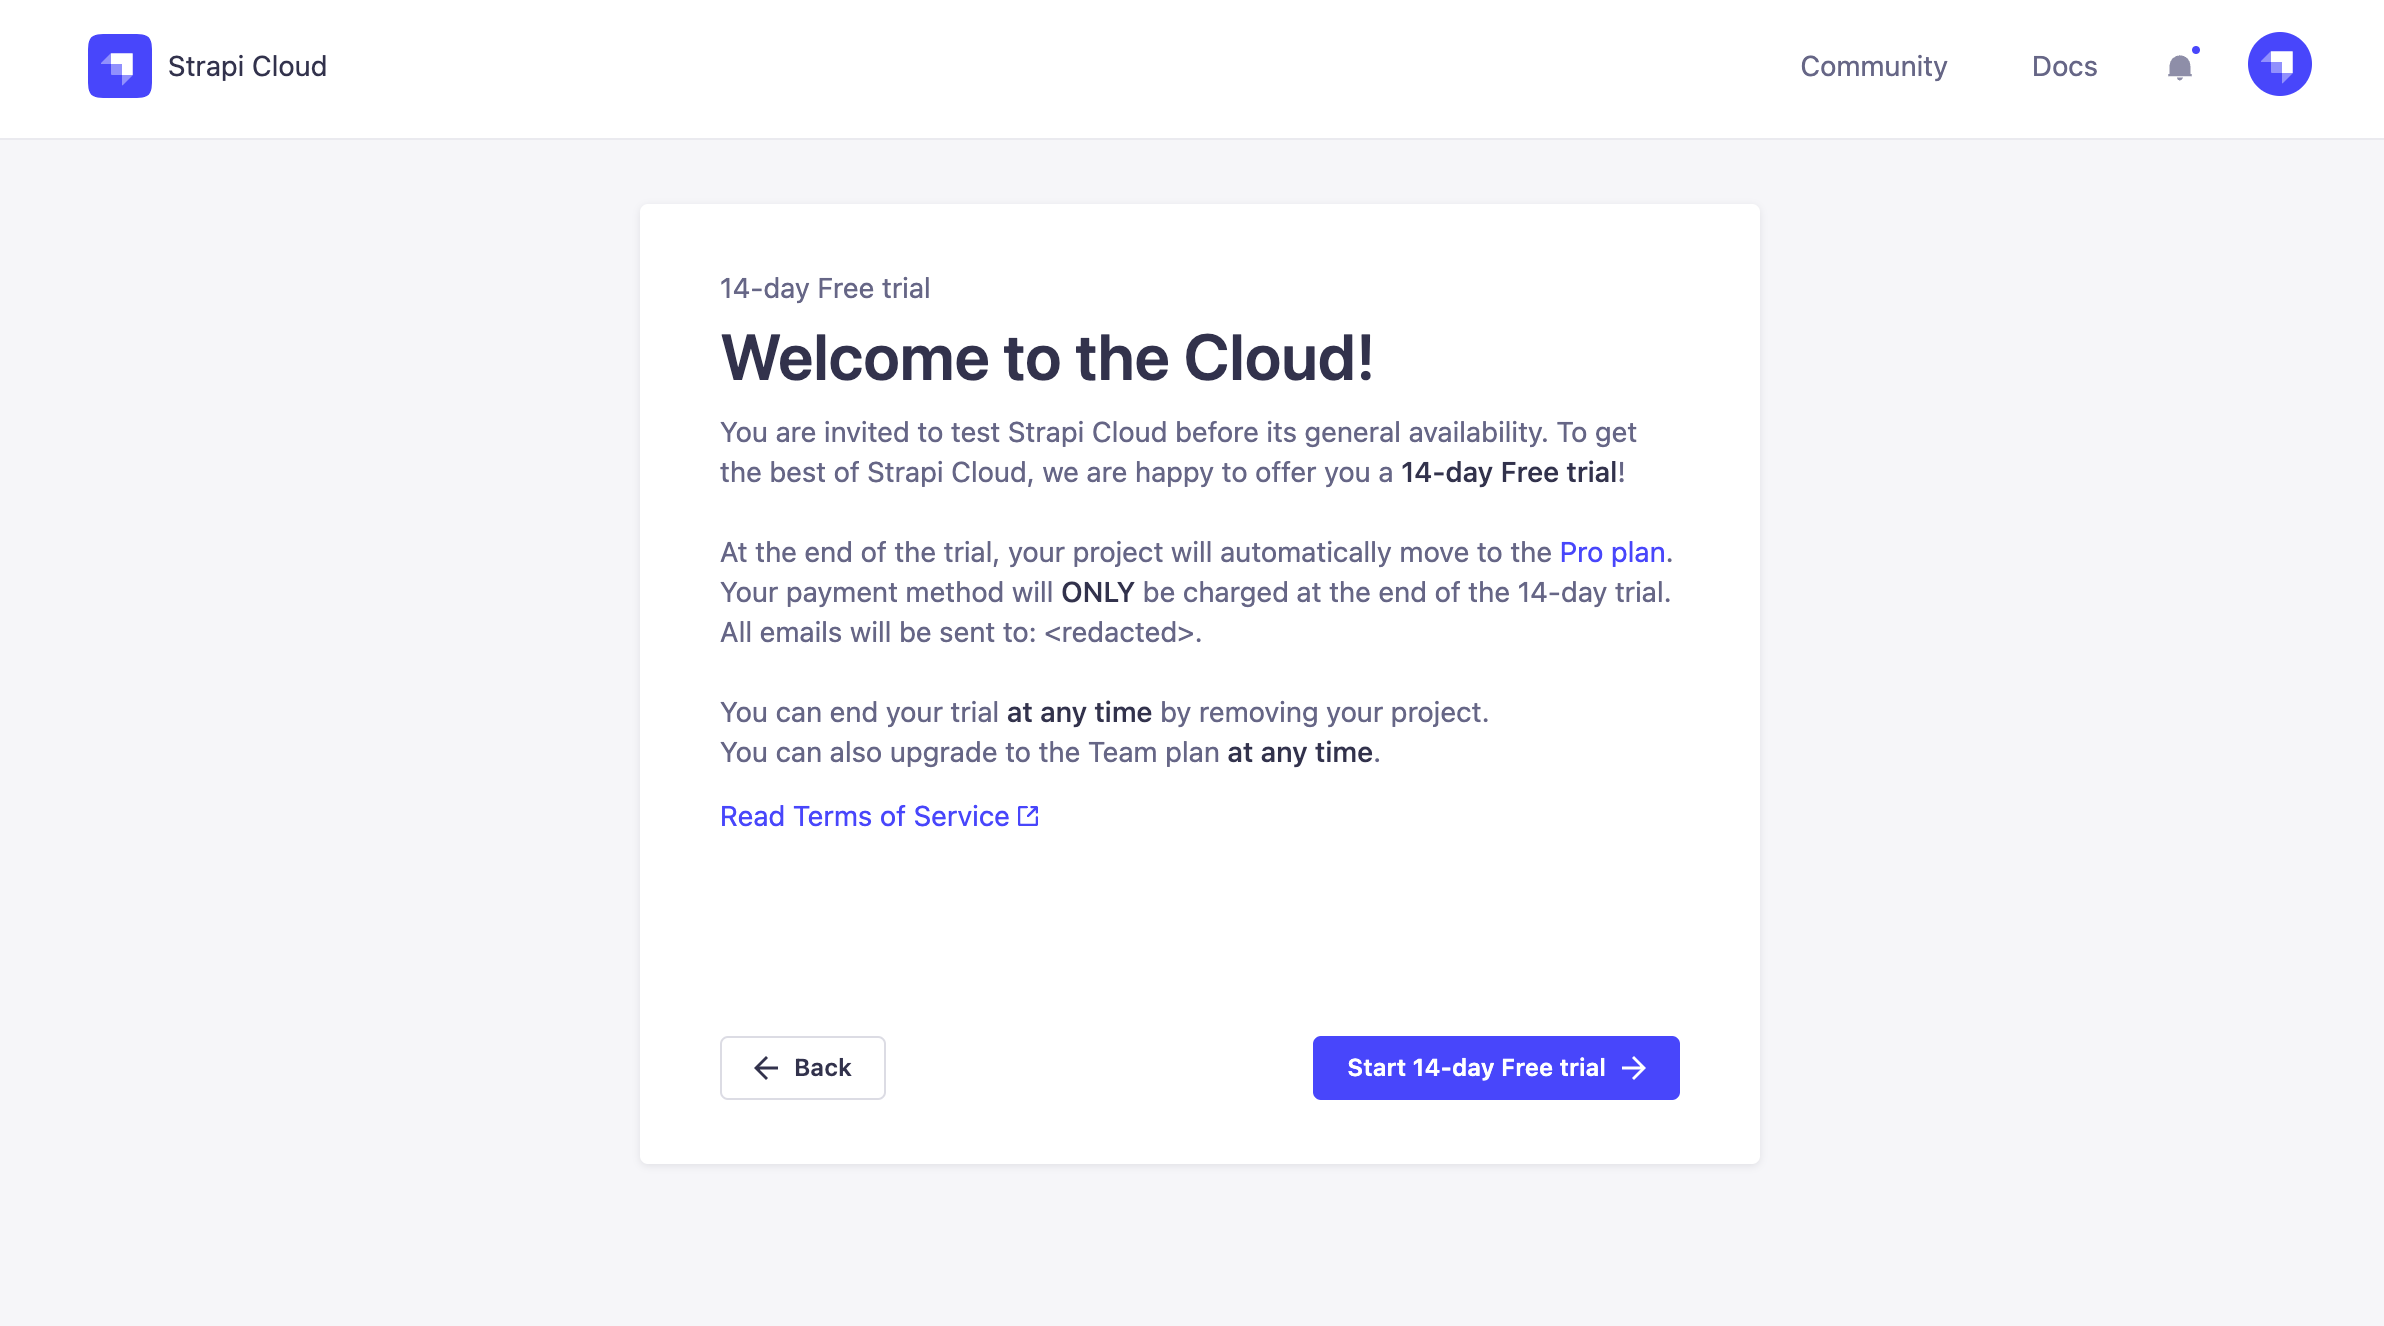
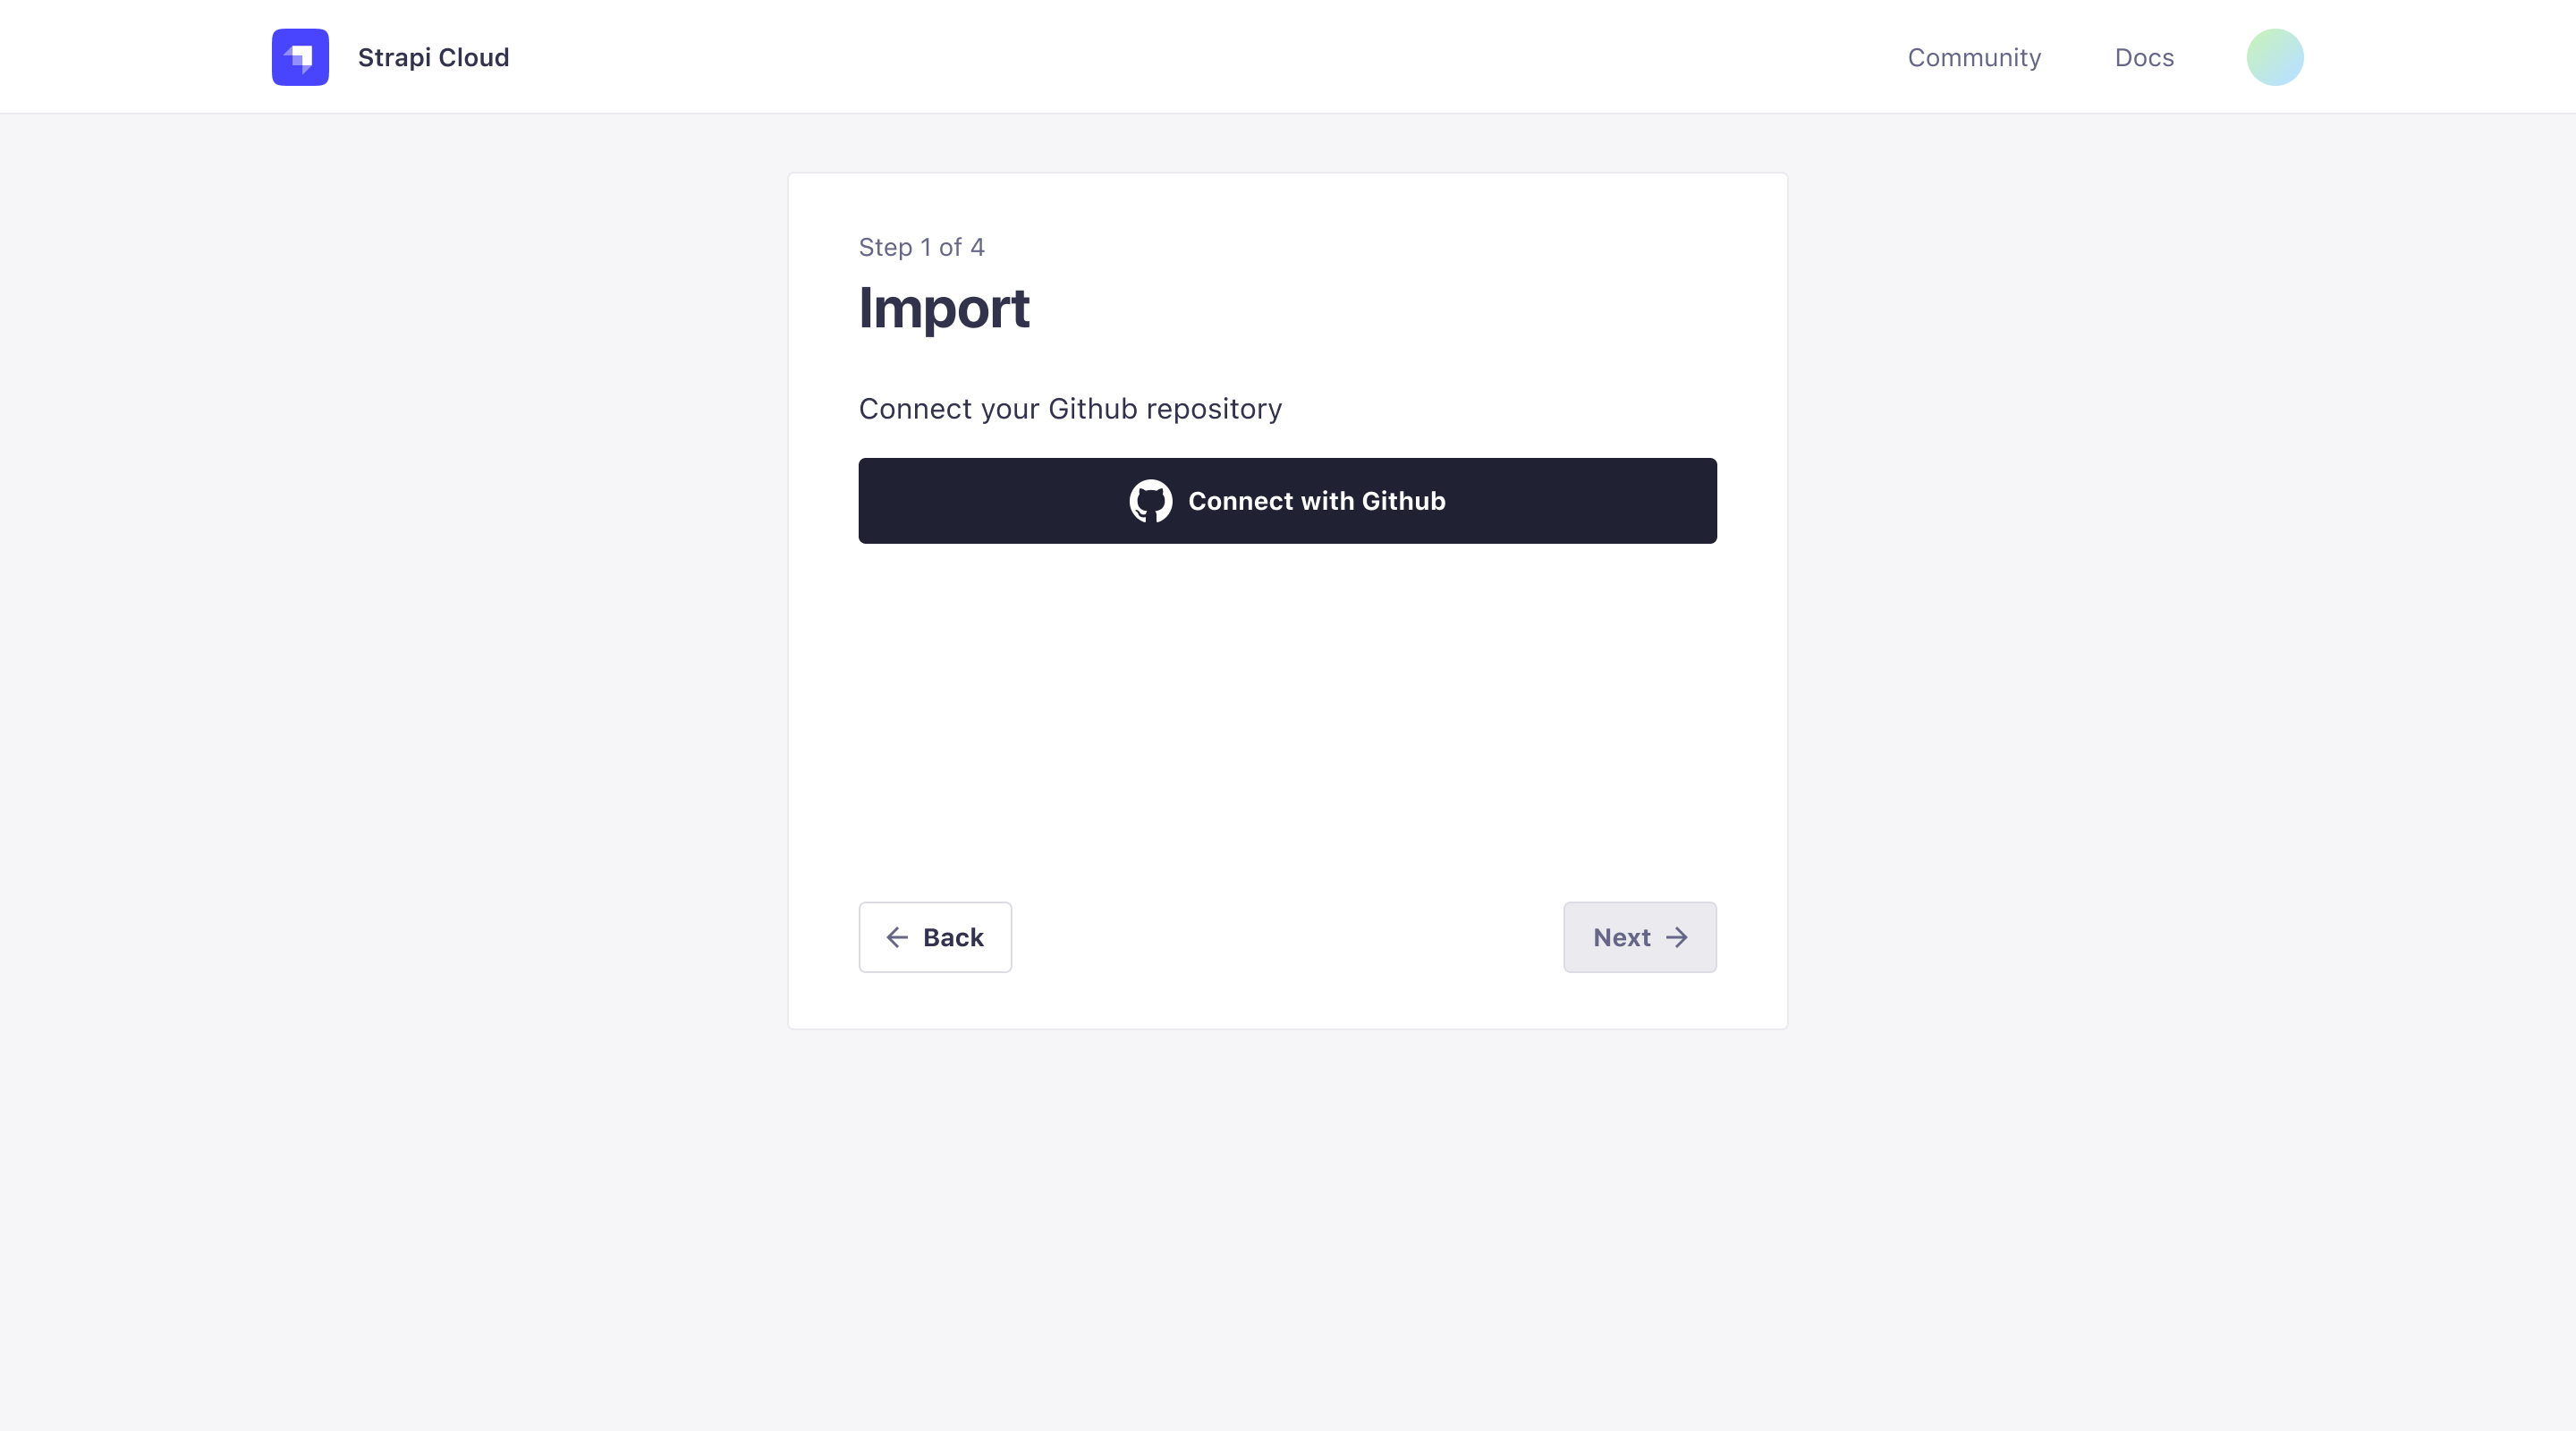
You are prompted to Connect with GitHub.
 💡 Tip
💡 TipConnect the GitHub account and/or Organizations that own the repository or repositories you want to deploy. This can be different from the account that owns the Strapi Cloud account.
You will be redirected to GitHub to authorize Strapi Cloud to access your repository.
After granting the required access from GitHub, select the desired repository to install Strapi Cloud.

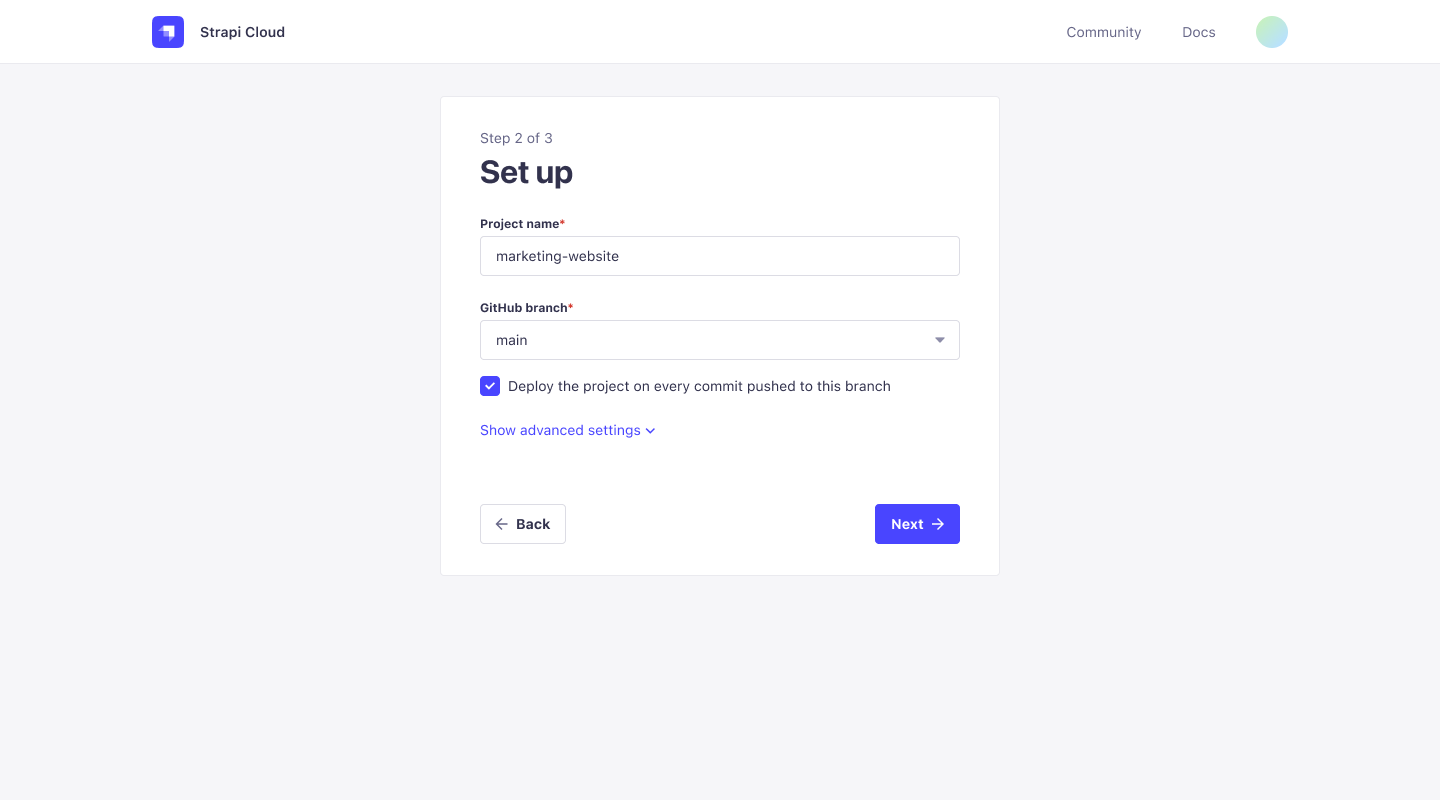
Click Next to proceed to the Project Set up page and enter the following information:
- Project name: The name of your Strapi app, this is fetched from the repository name but can be edited. It is automatically converted to slug format (
my-strapi-app). - GitHub branch: The default branch to use for this deployment. This uses the default branch of the repository but can be changed via the drop-down.
- Deploy on push: When enabled, this will automatically deploy the latest changes from the selected branch. When disabled, you will need to manually deploy the latest changes.
- Project name: The name of your Strapi app, this is fetched from the repository name but can be edited. It is automatically converted to slug format (
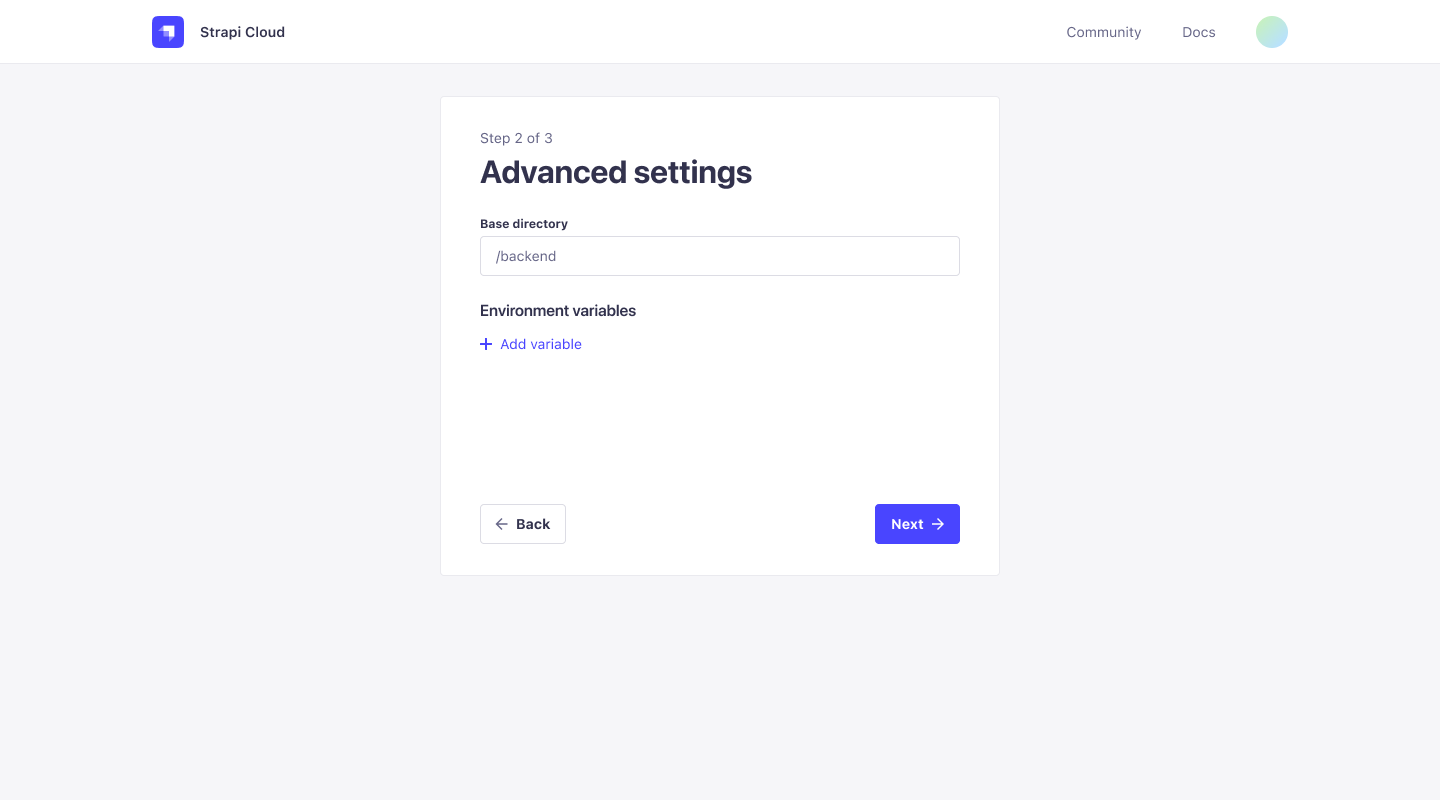
(Optional) Select Show Advanced Settings to configure the following options:
- Base directory: The directory where your Strapi app is located in the repository. This is useful if you have multiple Strapi apps in the same repository or if you have a monorepo.
- Environment variables: Environment variables are used to configure your Strapi app. You can add environment variables to your Strapi Cloud project by clicking Add Environment Variable. You can also add environment variables to your Strapi app by adding a
.envfile to the root of your Strapi app directory. The environment variables defined in the.envfile will be used by Strapi Cloud.
 🤓 Using Environment Variables
You can use environment variable to connect your project to an external database rather than the default one used by Strapi Cloud. See the Database Configuration documentation for details. If you'd like to revert and use our default database again, you have to remove your
DATABASE_environment variables (no automatic migration implied).You can also set up here a custom email provider (Sendgrid is set as the default one for the Strapi apps hosted on Cloud). See the Providers Configuration for details.
Click Next to proceed to the Payment and billing page. Enter the corresponding billing details.

Click Create to finalize the project creation. An initial deployment is triggered and you are redirected to the Projects page.
Create your Admin user after the initial deployment is complete. Do not share your application URL with anyone until you have created your Admin user.